

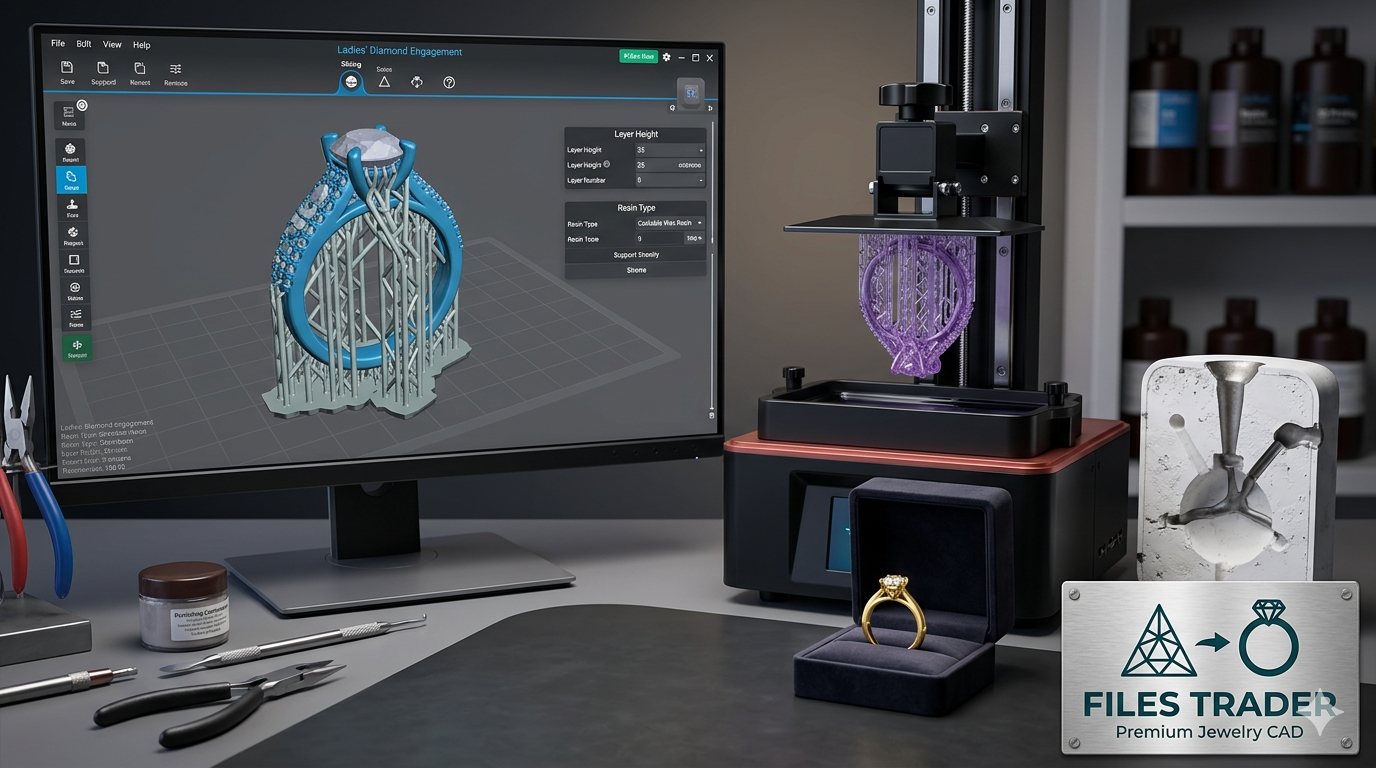
If you have been in the jewelry business for a few years, you already know that things have changed. The old way — hand-carving wax, sending it to a casting house, waiting days, and then discovering a flaw — is slowly giving way to something faster, cleaner, and far more flexible. More and more jewelers, both small workshop owners and large manufacturers, are moving to digital files. And the format at the center of that shift is the STL file. That shift is built around one key tool: the jewelry STL file — and understanding how to use it for 3D printing is now an essential skill for any modern jeweler.
But if you are just stepping into this world, the whole process can feel confusing. What exactly is an STL file? How do you go from a digital file on your computer to a finished gold ring sitting in your hand? What software do you need? What mistakes do beginners make?
This guide will answer all of that, step by step, in plain language. No engineering jargon, no assumptions about what you already know. Just the full picture, from downloading your first file to casting a piece in precious metal.
What Is a Jewelry STL File — and Why Does It Matter?
STL stands for Stereolithography. It is a file format that stores the surface geometry of a 3D object using a mesh of tiny triangles. Every curve, every prong, every channel in a ring setting is described by thousands of these triangular faces. The more triangles, the finer the detail.
For jewelry, this matters a great deal. A ring with a pavé stone setting, a pendant with fine filigree work, or a gents band with deep engraving — all of these need a very high-resolution file to print correctly. A low-quality STL will produce blurry edges and surfaces that need heavy polishing, which destroys the fine details you were trying to preserve in the first place.
The other common format you will hear about is 3DM. This is Rhino’s native format and it stores what is called NURBS geometry — a mathematically precise description of curves. A 3DM file is editable in design software like Rhinoceros 3D, meaning you can resize a ring, change a stone seat, or adjust the shank thickness. An STL is essentially a “locked” version ready for printing, while a 3DM is a “live” working file you can still modify.
Most professional jewelers work with both: they design or buy in 3DM format, make any adjustments they need, and then export to STL when they are ready to print.
Step 1 — Finding the Right STL File
The first practical decision you will face is where to get your files. You have two routes: design them yourself using CAD software like Rhinoceros 3D with MatrixGold, or buy ready-made files from a trusted source.
For most jewelers who are not trained 3D designers, buying ready-made files is the smarter starting point. It saves weeks of learning time, and professional files are already optimized for printing — meaning wall thicknesses are correct, the geometry is watertight, and the stone seats are properly sized.
When choosing files, focus on three things. First, check that the file is described as “watertight” or “manifold” — this means there are no holes or open edges in the mesh that would cause the printer to fail. Second, look at the preview render carefully. A well-made file will have sharp, clean edges in the render. Soft or blurry areas in the preview usually mean the file is low resolution. Third, confirm the file format is compatible with your printer and slicer software.
If you are building a collection for a jewelry workshop, ladies’ ring STL files and gentlemen’s ring 3DM files are the highest-demand categories — they account for the bulk of client orders in most small studios.
Step 2 — Preparing the File for Printing (Slicing)
Once you have your STL file, you cannot send it directly to the printer. You need to run it through what is called slicing software first. This program takes the 3D model and divides it into hundreds of thin horizontal layers, then generates a set of instructions (called G-code) that the printer follows to build the piece layer by layer.
For jewelry, the most commonly used slicer programs are Chitubox and Lychee Slicer. Both are designed for resin printers, which is what jewelry almost always uses.
In the slicer, you will need to set up a few things:
Layer height — for jewelry, you want this between 25 and 50 microns (0.025–0.05 mm). The thinner the layer, the smoother the surface finish and the more detail is preserved. Thicker layers print faster but leave visible ridges.
Supports — your model will need support structures in places where it overhangs mid-air. The slicer can add these automatically, but for jewelry you often need to adjust them manually. Supports that touch a stone seat or a prong tip will leave marks, so place them on hidden surfaces — the inside of the shank, the back of a pendant bail.
Orientation — how you position the ring in the slicer affects both print quality and the location of support marks. Tilting a ring at 30–45 degrees is a common approach. It reduces the surface area being peeled from the FEP film on each layer, which lowers the stress on fine details.
Step 3 — Choosing the Right Resin
Not every resin is suitable for jewelry printing, and this is one of the most common mistakes beginners make. Standard modeling resin works fine for display pieces or try-on samples, but it cannot be used for metal casting.
For casting in gold or silver, you need castable resin — sometimes called wax resin or castable wax resin. These materials are formulated to burn out cleanly in a kiln without leaving ash behind. Standard resin leaves carbon residue when it burns, which mixes with the molten metal during casting and causes pitting, porosity, and ruined pieces.
Look for resins with a wax content of at least 20–30%. Popular choices in professional workshops include Siraya Tech Cast, Asiga castable resin, and Envision One jewelry resins. Each has slightly different burnout requirements, so always follow the manufacturer’s specific burnout schedule for best results.
Step 4 — Lost-Wax Casting from Your STL Print
This is where the digital file becomes real metal. The process is an updated version of the same lost-wax casting that jewelers have used for thousands of years — except instead of carving the wax by hand, you printed it with a machine.
Here is the basic flow:
- Spruing — attach wax sprues to your printed model to create channels for the metal to flow in and gases to escape.
- Investing — place the model in a metal flask and fill it with investment plaster. Let it set completely, usually overnight.
- Burnout — place the flask in a kiln and follow a gradual temperature ramp to burn out the resin. This leaves a perfect hollow cavity in the shape of your jewelry piece.
- Casting — pour or vacuum-inject molten gold, silver, or brass into the cavity.
- Finishing — once cooled, break away the investment, cut the sprues, and polish.
If you do not have casting equipment in your own workshop, this is where castable wax models printed to order become valuable. You can have the wax master printed professionally and then take it to any casting house — saving you the cost of a kiln and centrifuge while still getting the precision of a digitally designed piece.
Try Before You Buy — Free Files
One of the smartest things a beginner can do is start with free jewelry STL files before investing in premium designs. Free files let you test your printer settings, learn how to set up supports properly, and understand what a good print looks like — without any financial risk.
Once you are confident in your setup and workflow, moving to premium files makes sense. Professional files come with more complex designs, better geometry, and in many cases both the STL and the editable 3DM version so you can resize and customize.
Choosing a Style That Sells
If you are producing files for a commercial jewelry workshop or a retail business rather than personal use, style selection matters as much as technical quality.
Right now, three categories are driving heavy demand from buyers worldwide:
Solitaire designs remain the most consistently popular across all markets. A clean, well-proportioned solitaire ring or solitaire earring STL files will always find buyers. They are also technically straightforward to print and cast, making them a reliable starting point.
Hip hop jewelry STL files have seen a major surge in demand, particularly in the US, UK, and Middle Eastern markets. Iced-out bands, Cuban link pendants, and bold gents rings with large stone settings are selling in high volumes. If your customer base skews younger or urban, this category is worth stocking heavily.
Couple bands and matching sets are growing steadily, driven by customers who want coordinated designs for engagements and weddings but at a fraction of the cost of fully custom pieces.
When You Want Something Nobody Else Has
Ready-made STL files cover most common jewelry types, but sometimes a client wants something completely unique — their own design, a specific shape, a name pendant, or a ring that matches a piece they already own.
In those cases, a custom jewelry design service is the answer. A professional CAD designer can take a sketch, a photograph, or even a rough description and turn it into a precise 3DM file ready for printing. This opens up a completely different level of offering for your workshop and justifies higher margins on those pieces.
Common Mistakes to Avoid
A few issues come up repeatedly with beginners, and knowing them in advance will save you time and material:
Skipping the mesh check — before printing any file, run it through a free tool like Meshmixer or Netfabb to check for geometry errors. An open mesh will fail to print correctly regardless of how good your printer is.
Using wrong wall thickness — for resin casting, walls need to be at least 0.8–1.2 mm thick. Thinner than this and the piece may crack during burnout or collapse during casting.
Rushing the burnout — the burnout schedule needs to be slow and gradual. Many failed castings come from going too fast through the ramp-up temperatures, which causes the resin to expand and crack the investment mold before it fully burns out.
Ignoring support placement — supports left on visible surfaces leave marks that require grinding, which damages fine detail. Always plan your support placement before hitting print.
Where to Get Your Files
If you are ready to build your collection, the complete ring catalogue is the most efficient starting point. Bulk collections give you a wide variety of designs in a single purchase — useful for workshops that need to offer clients a broad range of options without designing each piece from scratch.
Whether you are setting up a small home workshop, running a retail jewelry store, or supplying casting services to other jewelers, the workflow is the same: a good file, the right resin, a careful burnout, and clean casting technique. Get those four things right and the results are consistently professional.
The technology has matured to the point where digital jewelry production is no longer experimental — it is the standard. The question is not whether to adopt it, but how quickly you can get up to speed.
Browse the full collection of ready-to-print jewelry STL and 3DM files at Files Trader — new designs uploaded every week.